Sharing our passion for the Jeep life!
Safety
Seat & Seatbelt Mounting
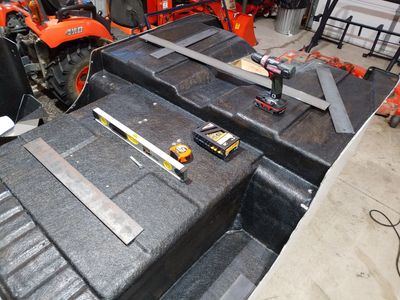
In the Body section, I covered the one-piece bracket I designed and fabricated for mounting the seats, the lower seat belt attachments, and the center console. This bracket is a sturdy, welded unit utilizing 3/16" angle steel and 3/8" flat plate for the mounting brackets. The fiberglass body is also reinforced in key areas with wood and steel for secure mounting of body components, but I decided to add an extra layer of protection. I cut, welded, and drilled reinforcing braces to fit underneath the body and align with the mounting holes for the seat bracket, seat belts, and body-to-frame mounts. This effectively sandwiches the body tub between the bracket steel above and the reinforcement steel below. Since the braces run from frame-rail to frame-rail, they also add torsional stiffness to the frame and serve to replace the original channel brackets that came on the CJ-2A.

Rollbar
For the rollbar, I purchased a complete roll cage kit from Extreme Custom Fabrication. My original intention was to install the full roll cage, including the main hoop, rear support bars, front hoop, and spreader bars. However, after determining the interior placement of the seats, steering column, and pedals, I decided the front hoop would be too intrusive and interfere with overall ingress/egress and usability. I would end up relying on the main hoop and rear support bars, which prompted me to design the additional reinforcements mentioned above. 3/16" steel plate was used as the base to tie the main hoop and support bars together at the bottom, as well as being positioned under the body tub and through-bolted. The main hoop itself consisted of two identical pieces with a small inner sleeve for joining them together. The hoop was drilled for plug welding the sleeve, and I followed up with a seam weld for strength. After coating the rollbar with POR-15, I top-coated it with black satin paint and installed rollbar padding to the top of the main hoop.
I selected late model three-point seatbelts instead of simple lap belts. The upper mounts were bolted to the main hoop, with the lower mounting points bolted through the reinforced seat bracket. This setup is really stout, and in conjunction with the high-back seats provides an extra level of safety in case of a traffic accident or rollover on the trail.
Fire Extinguisher
A fire extinguisher is a must have for a Jeep used on the trail. Traveling through dry brush or grass with a hot exhaust system can result in a fire. There are also unfortunate instances of vehicle fires that occur on the trail and accidents on the road that result in a fire. To protect your investment, the environment, and others in unfortunate circumstances, installing a quality fire extinguisher in your Jeep is a prudent move.
To that end, I selected a MaxOut Dry Chemical 2.5 lb. fire extinguisher from H3R Performance. These extinguishers are engineered specifically for automotive applications and offer defense against flammable liquid fires without conducting electricity back to the operator. Of course, a fire extinguisher won't do you any good if it's not secured and easily accessible. After looking at a number of mounting options, I purchased a lockable black anodized aluminum rollbar mount with a quick release lever. The mount comes with various sized clamps to fit different rollbar diameters. I mounted it on the rear support of the driver side rollbar for quick access.
